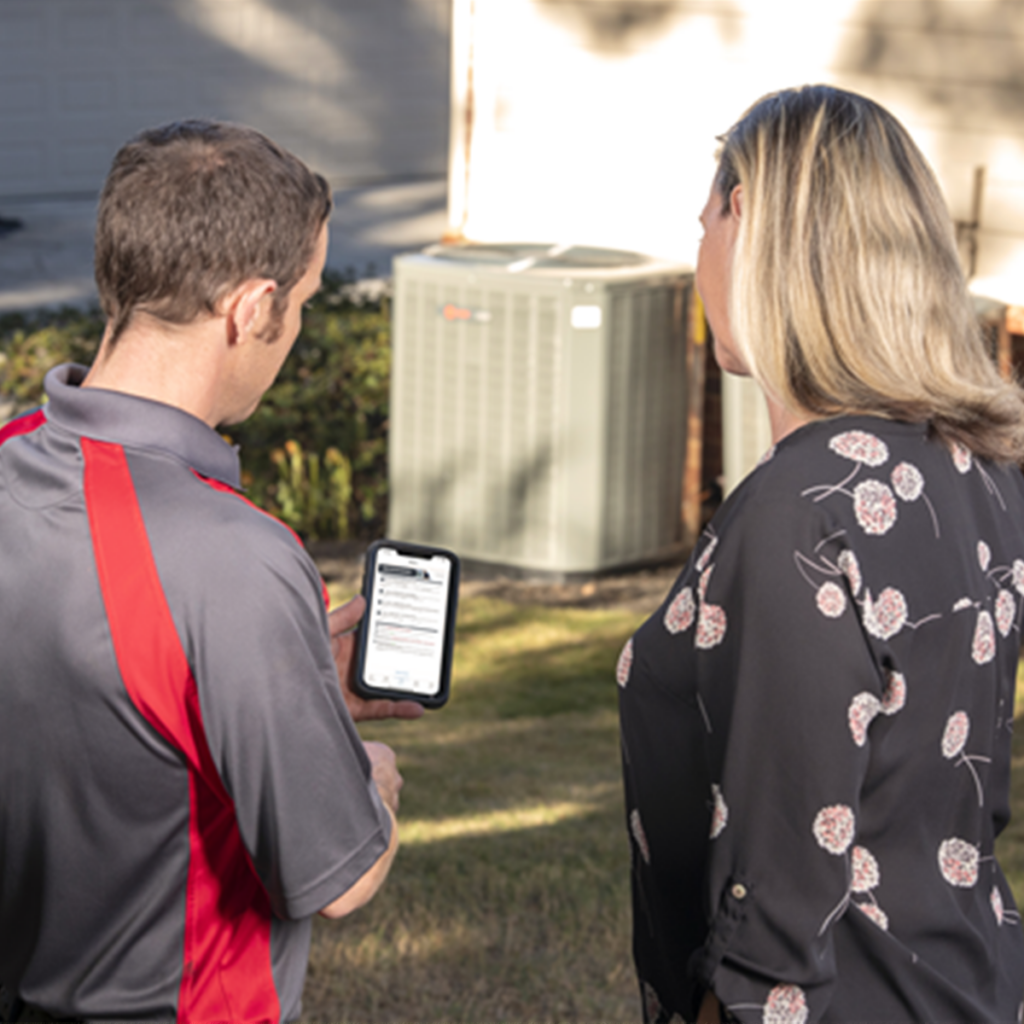
Dependable AC Maintenance In Jupiter
Despite the fact that your air conditioner is running correctly, Complete Comfort Air Conditioning & Heating recommends you schedule bi-annual AC maintenance. Performing thorough testing and inspections can prevent AC breakdowns and costly emergency repair bills.
Before the temperature rises, call Complete Comfort to schedule AC maintenance in Jupiter, Palm Beach Gardens and surrounding areas. This will ensure your air conditioner will last all summer long. You can also take advantage of our Comfort Club Membership if you want the best value for your hard-earned money. For more information, reach out to us today!
Trust The Complete Comfort Team
Our maintenance services impact more than your home’s indoor temperatures. Here are some more of the benefits of Complete Comfort maintenance:
- Spend less on repairs – Not only will maintenance help you avoid sudden AC breakdowns, but if a breakdown happens, it could be less severe than a unit that hasn’t been maintained.
- Increase the lifespan of your unit – AC units can last anywhere from 8-12 years depending on how often you use and maintain your unit. Consult our Jupiter AC maintenance experts about prolonging the life of your unit today.
- Maintain energy efficiency – As AC units age, their efficiency decreases. This means that your indoor air temperature might be okay, but your AC is using more electricity to make it happen.
- Stay under warranty – One additional benefit of regular visits from our team is that our services keep your unit under manufacturer warranty. Staying under warranty can save you thousands of dollars in repair and replacement costs.

The Importance Of Seasonal HVAC Maintenance
Proper maintenance keeps your AC unit running efficiently and reliably. A clean AC system conserves energy and improves the air quality inside your home. Let Complete Comfort Air Conditioning & Heating take care of your AC maintenance and service needs.
All our technicians are certified, licensed and insured. As a family-owned and operated company, we guarantee 100% satisfaction, which means if you’re not totally satisfied with our service, there’s no cost to you. Ready to see the Complete Comfort difference? Reach out to us today!
Not sure what a tune-up is? Keep on reading and learn more about a regular ac maintenance includes and the benefits of our Comfort Club membership.
What’s A Preventative Air Conditioning Tune-up?
Regular AC maintenance keeps your air conditioning unit running efficiently season after season. When you schedule your service with Complete Comfort, we go beyond a visible inspection to perform thorough services that include:
- Cleaning drain line and drain-pan
- Washing outdoor unit
- Waxing indoor unit
- Hosing outdoor unit (water)
- Vacuum out dirt and debris
- Check for air leaks
- Refrigerant level check
Our technicians can identify any damage or problem area with your unit and recommend repairs as needed. By scheduling routine tune-ups, we can help you avoid costly breakdowns and replacements. Take advantage of our dependable AC tune-ups by scheduling your service with us today!
Comfort Club Membership Benefits
Complete Comfort Air Conditioning & Heating offers homeowners our exclusive Comfort Club Membership. As a member, you will receive two maintenance visits a year for your air conditioner and heater, discounted repairs and priority service calls.
When it comes to maintenance, our thoroughness and eye for detail are what set us apart from other competitors. Our clients have access to different club levels, including Platinum, Gold and Silver to suit the different needs of every client. Contact us today for more information or to sign up!
Schedule Your Seasonal AC Maintenance
Let the team at Complete Comfort Air Conditioning & Heating perform your AC tune-up this season. We can inspect, clean and diagnose your unit to keep it running like new. For unbeatable service in Jupiter and surrounding areas, reach out to a team you can trust. Contact us today!
More Air Conditioning
AC Repair
The one-stop-shop for air conditioning repairs in Jupiter
AC Replacement
We specialize in AC installation, service and repairs
Air Ducts
Call our skilled technicians to service your air ducts
Duct Cleaning
Are you breathing clean air? Call Complete Comfort today
Ductless AC
Our ductless systems are seamlessly integrated & unobtrusive
IAQ
Breathe in. Breathe out. Feel safe at home. Call us!
Smart Thermostats
Experience ultimate control with a smart thermostat!
VRV/VRF Systems
Our VRV/VRF systems can keep your Jupiter home comfortable
Zoning Systems
Personalize heating and cooling in your house
